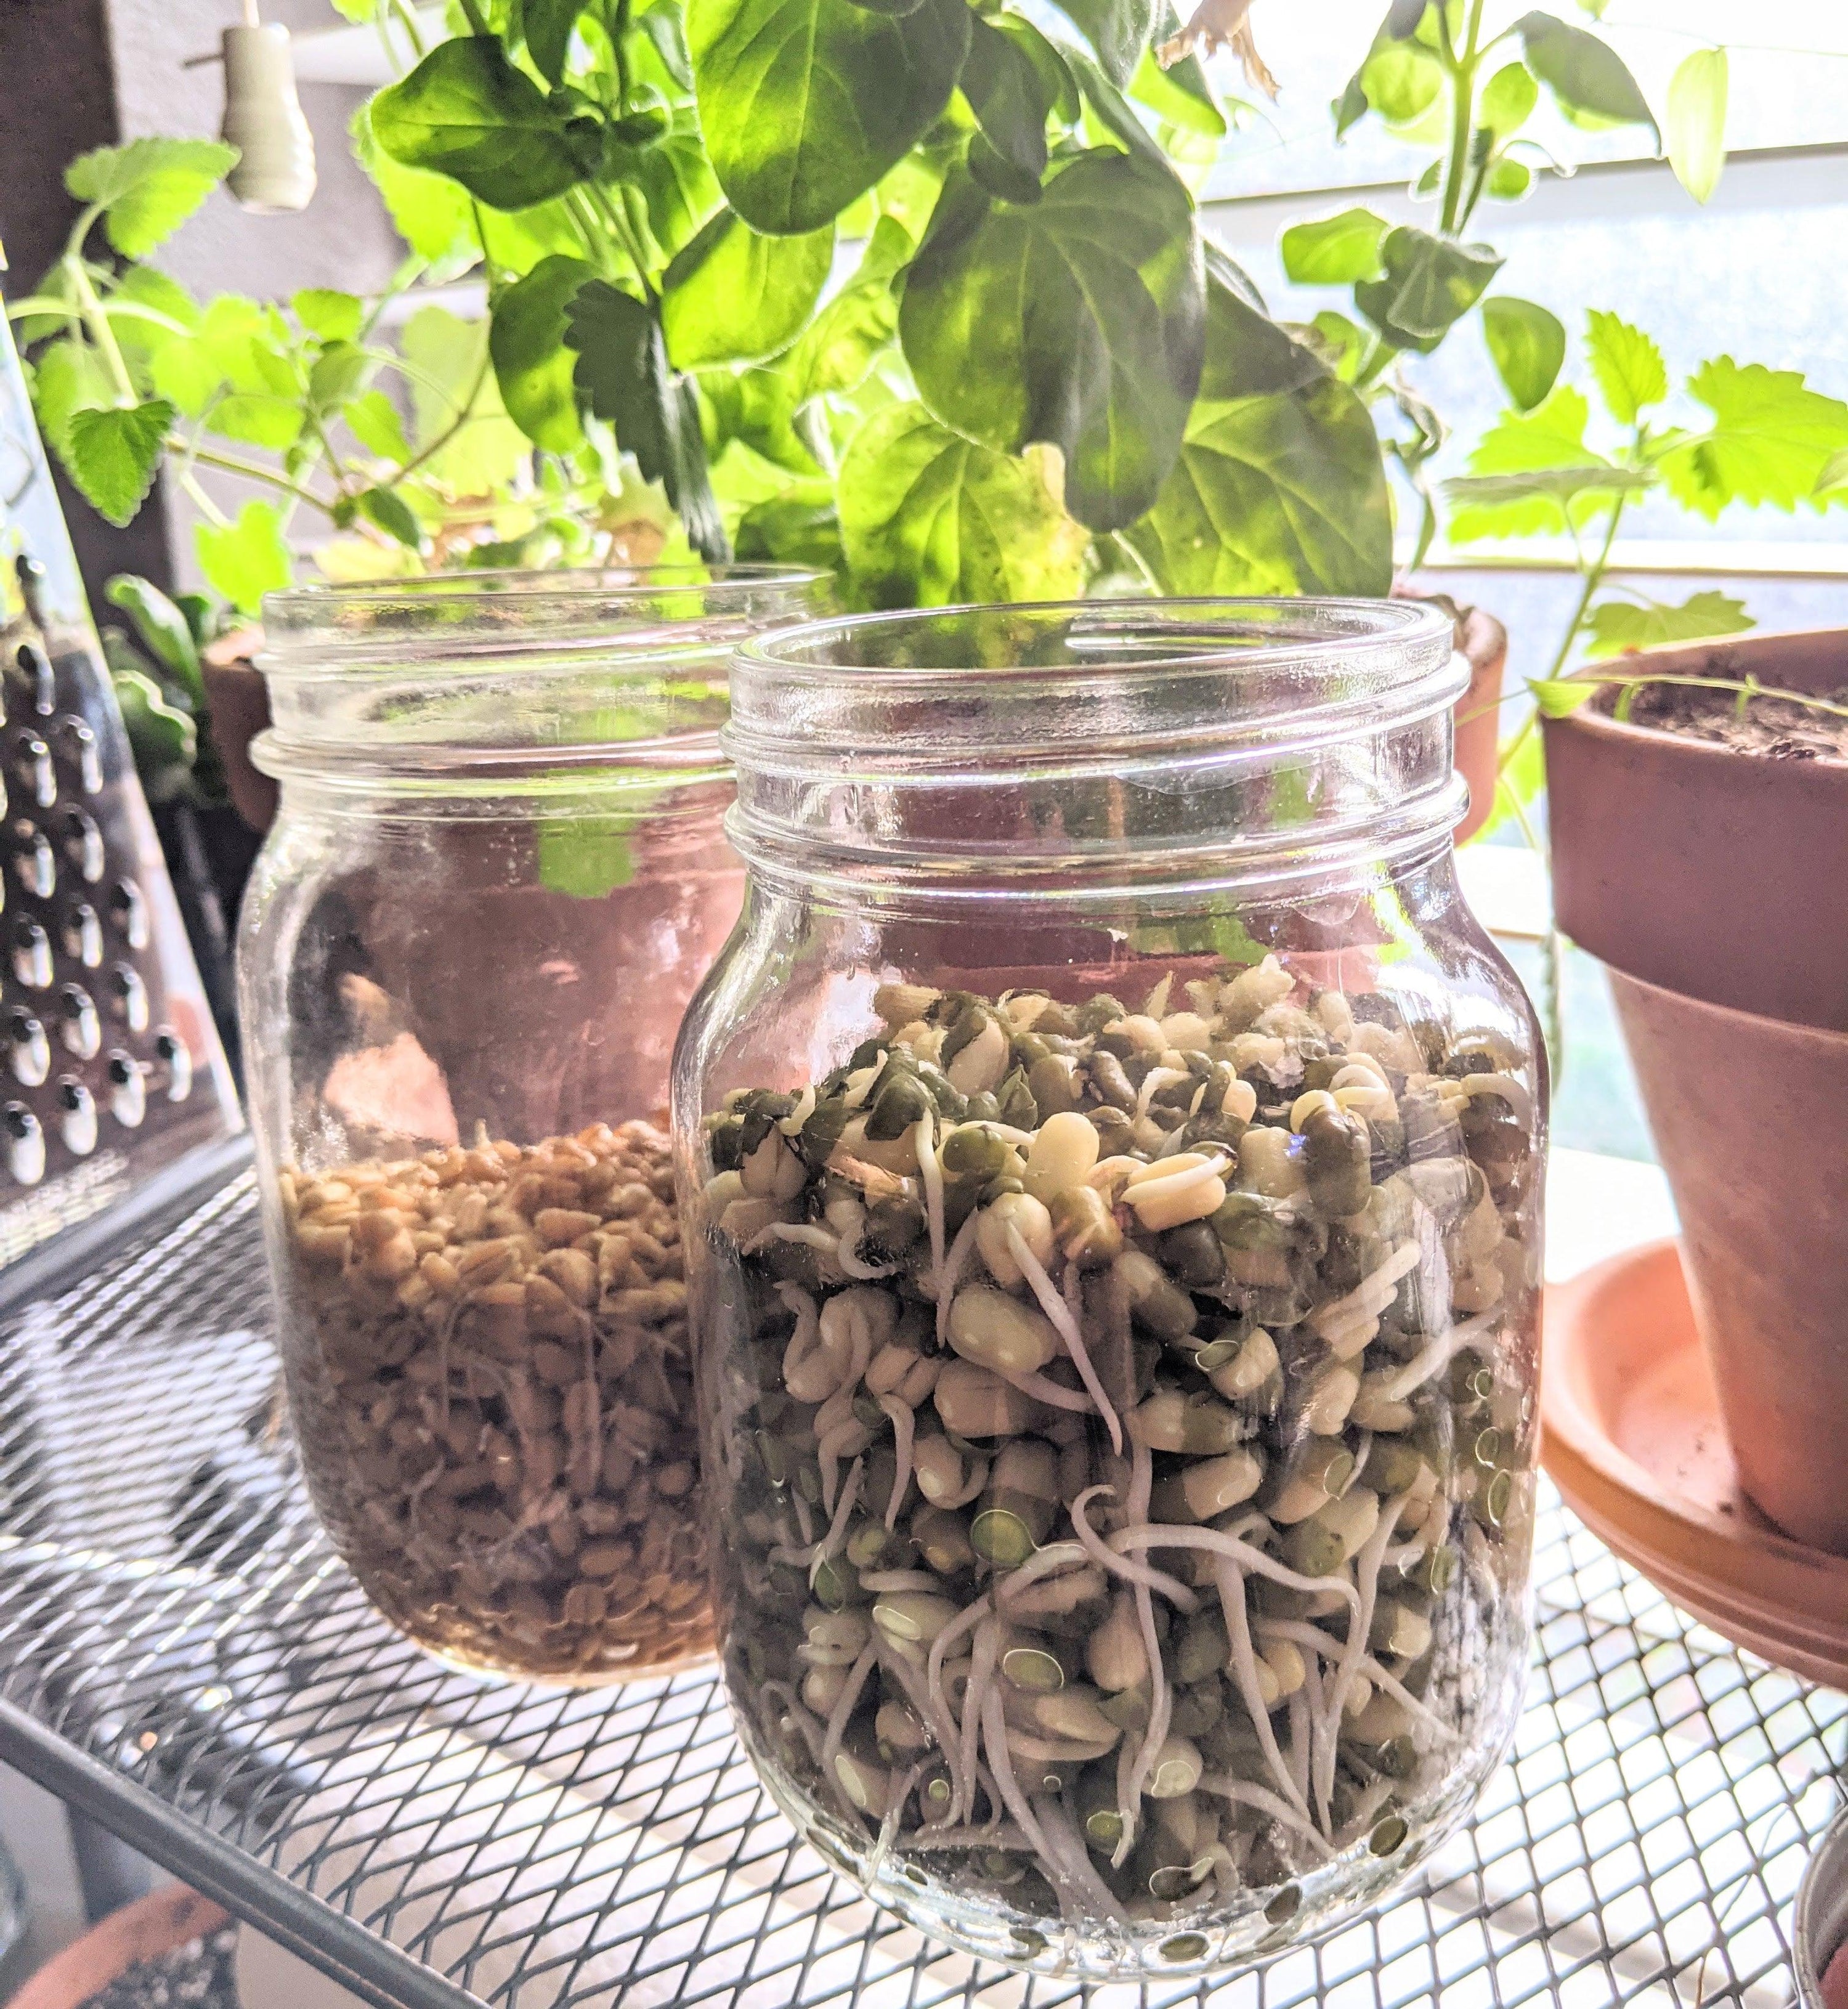
If you're looking to start or expand your window garden, definitely try out sprouts! You might have heard of sprouts, but if you're not sure what they are exactly, here's a definition: sprouts are just germinated grains, seeds or legumes that are consumed for their nutritional value. Some popular varieties include alfalfa, peas, mung beans, broccoli, lentils, wheat, lettuce and others(*WARNING: not all seed varieties produce edible sprouts, make sure to research on which are edible!*)
So why grow sprouts?
- They're an amazing source of plant-based protein
- They're very nutritionally dense, each variety of sprouts will bring different benefits
- They taste great!
- There's no denying fresh is best, in terms of both taste and nutrition, and if you like the idea of growing your own fresh food, but don't have the light or space, sprouts are a great option.
- They're just a fun project to do, as a hobby or as a family activity.

Hopefully that gives a good introduction into what sprouts are, so now let's talk about how to actually grow them:
Materials you'll need:
- the seeds (shop organic sprouting seeds here)
- a jar(usually a wide-mouth jar), or container of some sort like tupperware
- a strainer(if you're using a wide-mouth mason jar, then you can find strainer lids for the jar which make life a lot easier)
How to Grow Sprouts:
Step 1) Fill the seeds a quarter full or less of the jar(they expand a lot!)
Step 2) Rinse well, using the strainer to strain out the seeds
Step 3) Once the seeds are rinsed, pour in water to cover the seeds(half way or more on the container) and leave the seeds to soak for about 24 hours

Step 4) After soaking, you'll probably see a bit of germination activity on the seeds. Now rinse the seeds again, and drain the water well. Place the container in a bright spot like a windowsill and leave it. If you have a jar with a strainer lid, you can place the jar upside down with the lid down on a tray just to make sure any excess water can get out.
Step 5) Repeat step 4 and rinse the seeds daily until they sprout! This will usually take about a week or a little less. You'll notice the jar will start to look more and more cramped as the sprouts grow(this is why you don't want to fill the jar up too much at the start!)

Step 6) Once you see most of the seeds have sprouted, they're ready to eat! They can be stored in the fridge in their jar for several days.
If you're wondering what to add your sprouts to, they're commonly eaten on their own, in salads, sandwiches, and just as a garnish for meals. I basically add them to anything and everything I cook(I even add small amounts to our dog Rocko's food!)
Hope this little guide helped, and send us photos of your sprouts and the meals you make with them! We have sprouting kits that are perfect for getting started with growing your own sprouts, check them out here.
If you liked this post, here are some others you might like:


